We purchased Cloudy Bay (HR54 from 2008) in the spring of 2016. She’d been sailed from Ellos to Lanzarote and with only 2500 miles on-the-clock she clearly hadn’t moved much in her 8 years. She was well spec’d and excepting where the sun had touched her, and the cleaning boy had pressure washed the decks, she was almost like new. Our plan is to circumnavigate but decided to spend 2016 getting to know her, followed by a winter refit project in preparation for the next 5 years. In 2017 we cruised to Greece to check everything worked as anticipated, before crossing the Atlantic early 2018.
The refit project started with a few key objectives: get rid of the lead-acid batteries; upgrade the power systems; sand the decks before we get any more splinters; add davits; add spinnaker and bowsprit and change the power hungry Furuno system for a Raymarine. But of course, the list ended up extending to much more and the budget was exceeded by quite a way. But what the hell, this is sailing right?
Where to do the refit:
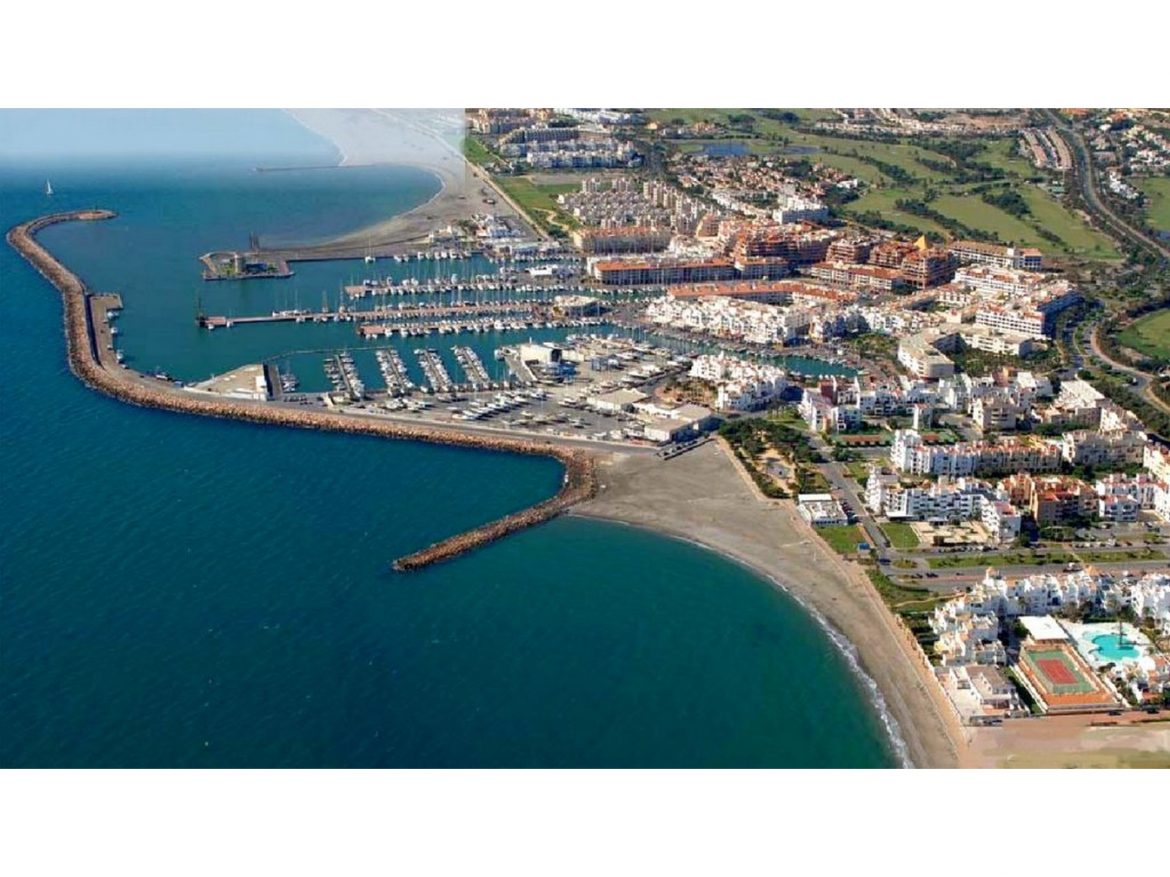
In 2016 we had stumbled across a small British team in Almerimar, Costa Del Sol, so in January we sailed from Gibraltar and spent the next 2 months in an apartment while Cloudy Bay was attacked from all angles while we closely supervised.
As for research, we looked at forums, spoke to other HR owners, and went to Southampton Boat Show. But without any doubt, the best information and show was METS in Amsterdam. METS is an annual trade show for the leisure marine industry and exhibits every possible part that can make or be put onto a yacht. Simply brilliant. It was there that we landed on Raymarine vs Furuno and Mastervolt for all the electrics upgrade. Our refit project came into shape after METS.
Power and Electrics:
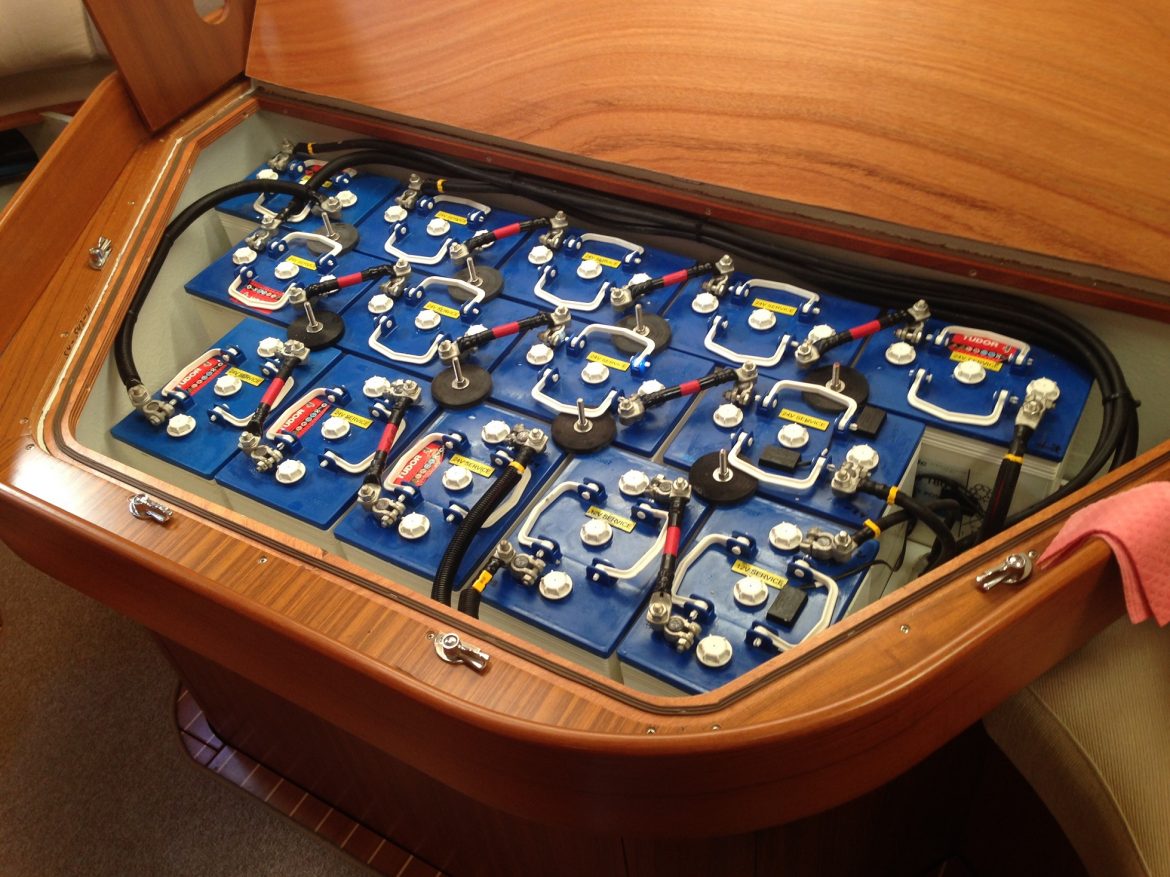
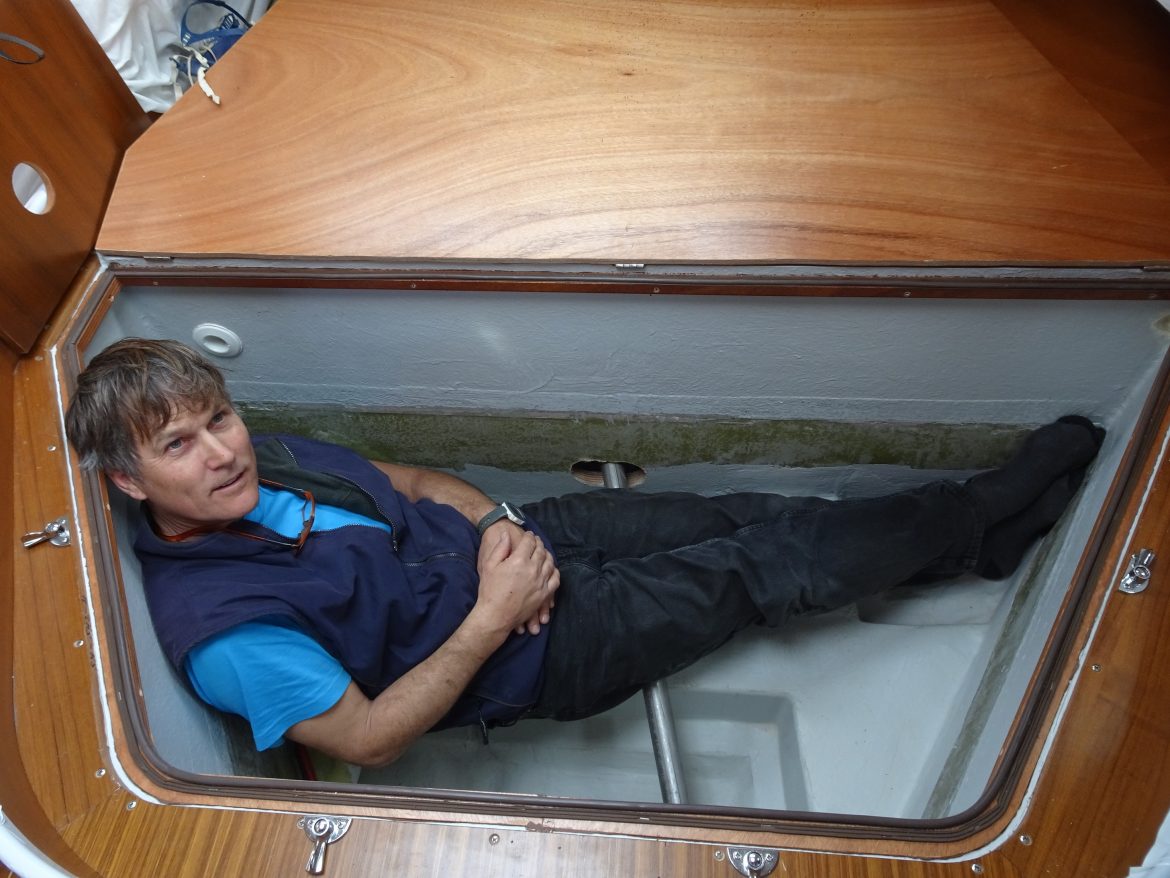
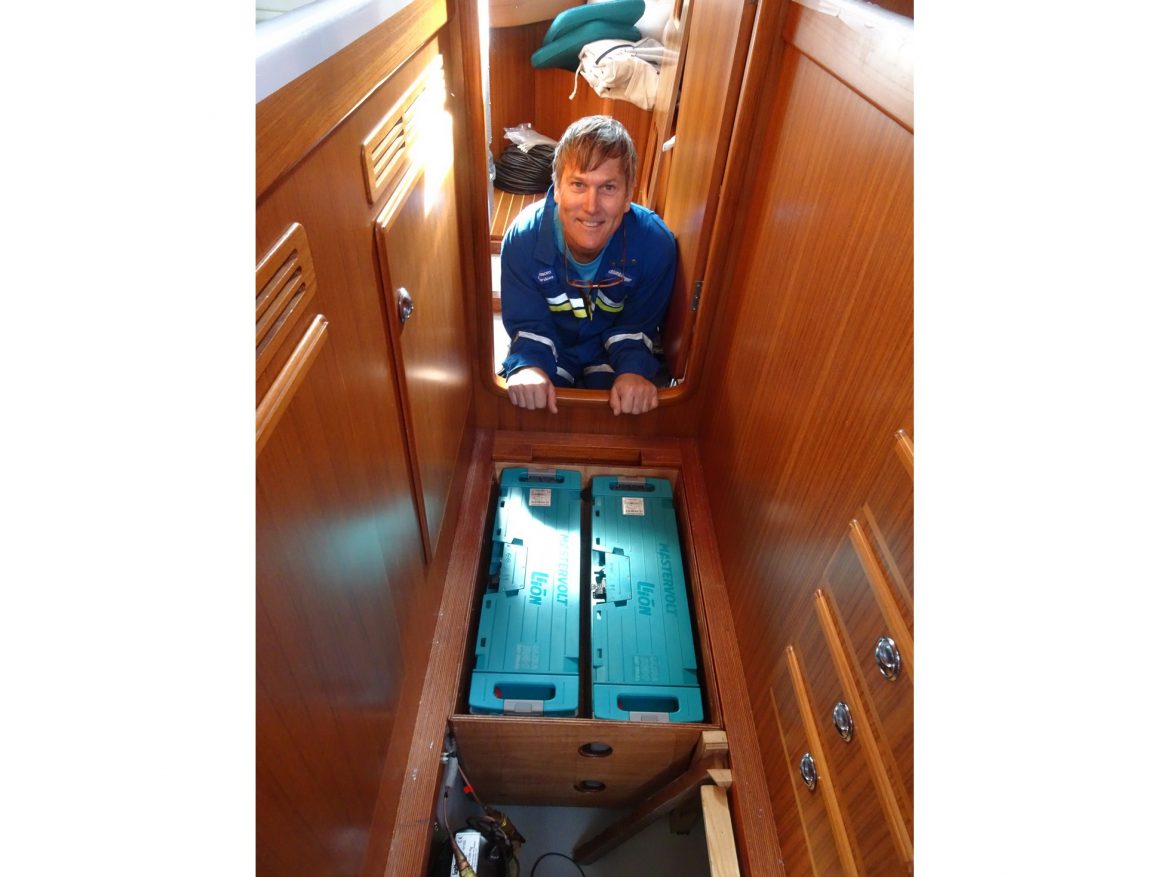
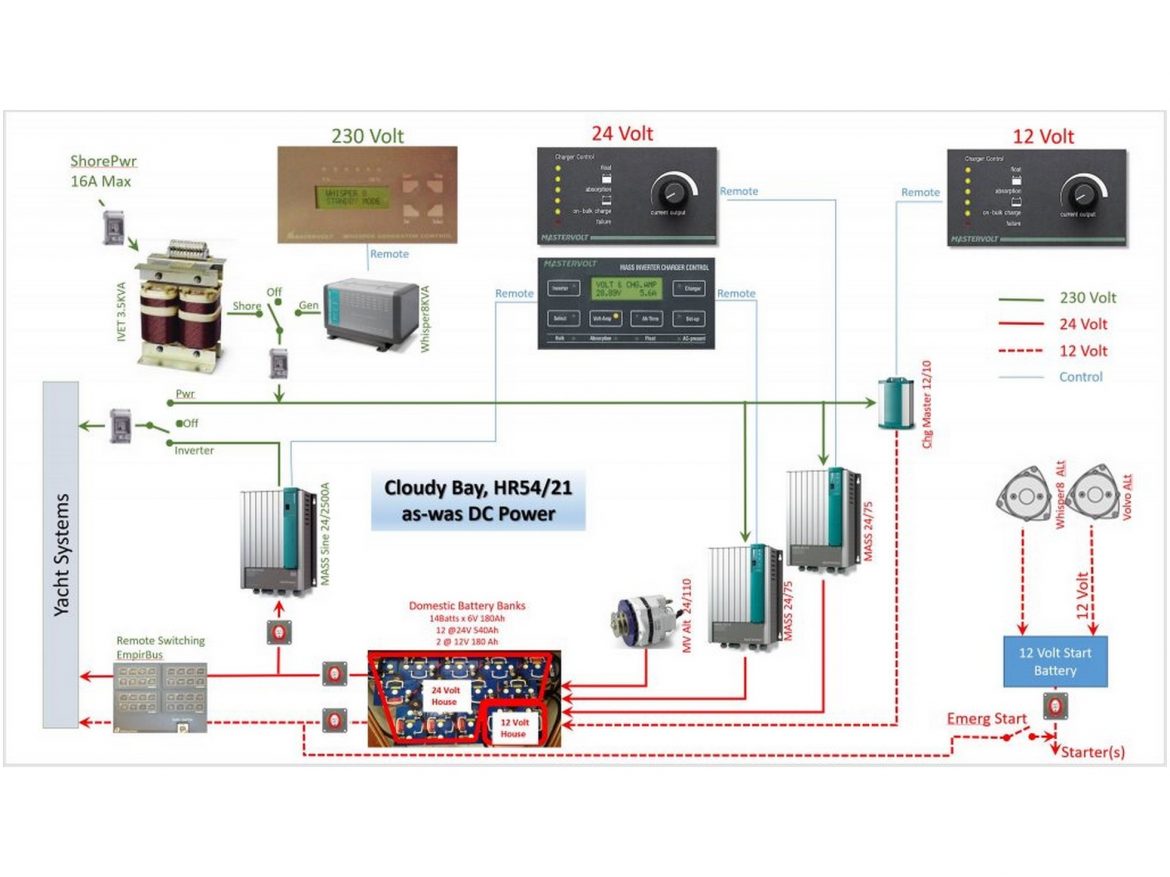
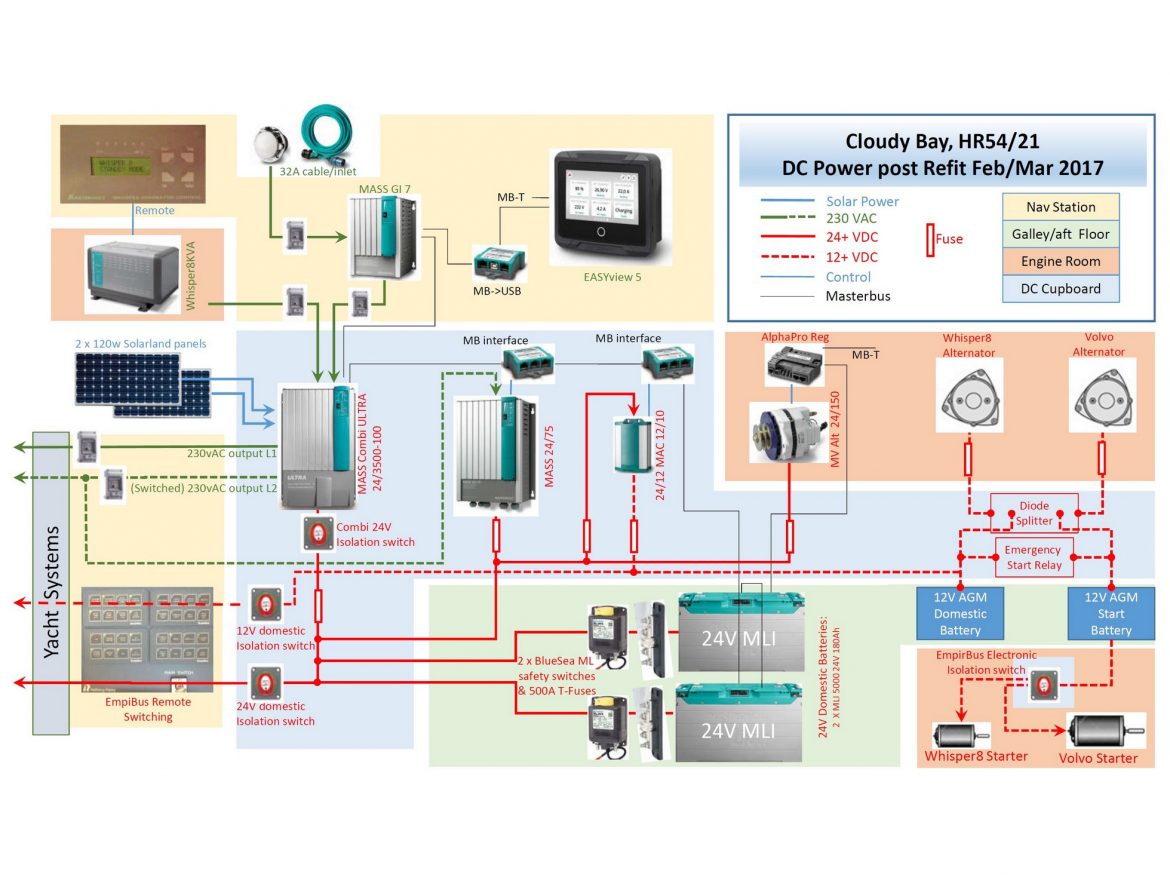
We decided to go directly for Li-ion batteries rather than Gel. 100Kgs replacing 450Kgs of lead-acid. This weigh loss in the stern would be replaced by a heavy RIB on new davits whilst the new batteries to port would help balance our starboard list – it’s odd that HR put all the heavy stuff on the starboard side! We placed the 2 new batteries neatly under the galley floor, freeing the space previously occupied by 14 lead-acid batteries under our bed to make a new cavernous locker there, now full of bikes, shopping trollies and SeaDo’s!
Li-ion batteries need to control what charges them and that meant we needed to also upgrade to a Master-bus. As well as the very deep cycle (down to just 20%) the beauty of Li-ion is that every charging amp you have goes into the batteries, there is no charge drop-off or lengthy absorption phase. We added a 24v / 100A /3500Kw Combi and also kept one of the two original 24V/75A chargers, giving us a whopping 175amps of charge with shore power or generator. We can now charge the batteries from flat to full in just 2 hours! And when away from shore power, we don’t need to have the generator thumping away for 10 hours every 4 weeks to get through an absorption phase.
We also upgraded the engine alternator to 150Amp from 100Amp. The main reason for this was to allow us to make water with our 230v ENWA system while motoring, utilizing the new alternator and Combi inverter. Now that we can make 140Litre/hour while motoring, we never have to worry about water. We even wash the boat with it! And, added bonus, the generator is barely used these days.
Lastly, we added solar panels. A big debate was where to put them. We didn’t want them on the deck and heaven forbid making an ugly stern gantree to mount them on. Mounted on the bimini seemed obvious, but then we often use a full over-boom cover when at anchor, to take the heat off the boat. So it was decided to have 2 flip-up panels on the life-lines. This meant extending the pushpit forward to the first stanchion point so the panels would be on solid rail, not wire lifeline. We thought this may spoil the looks, but in fact we feel it has enhanced the back of the boat, making the aft deck feel a very safe place now. The panels have a neat flip up device and assist the battery charge when sailing or at anchor.
Decks:
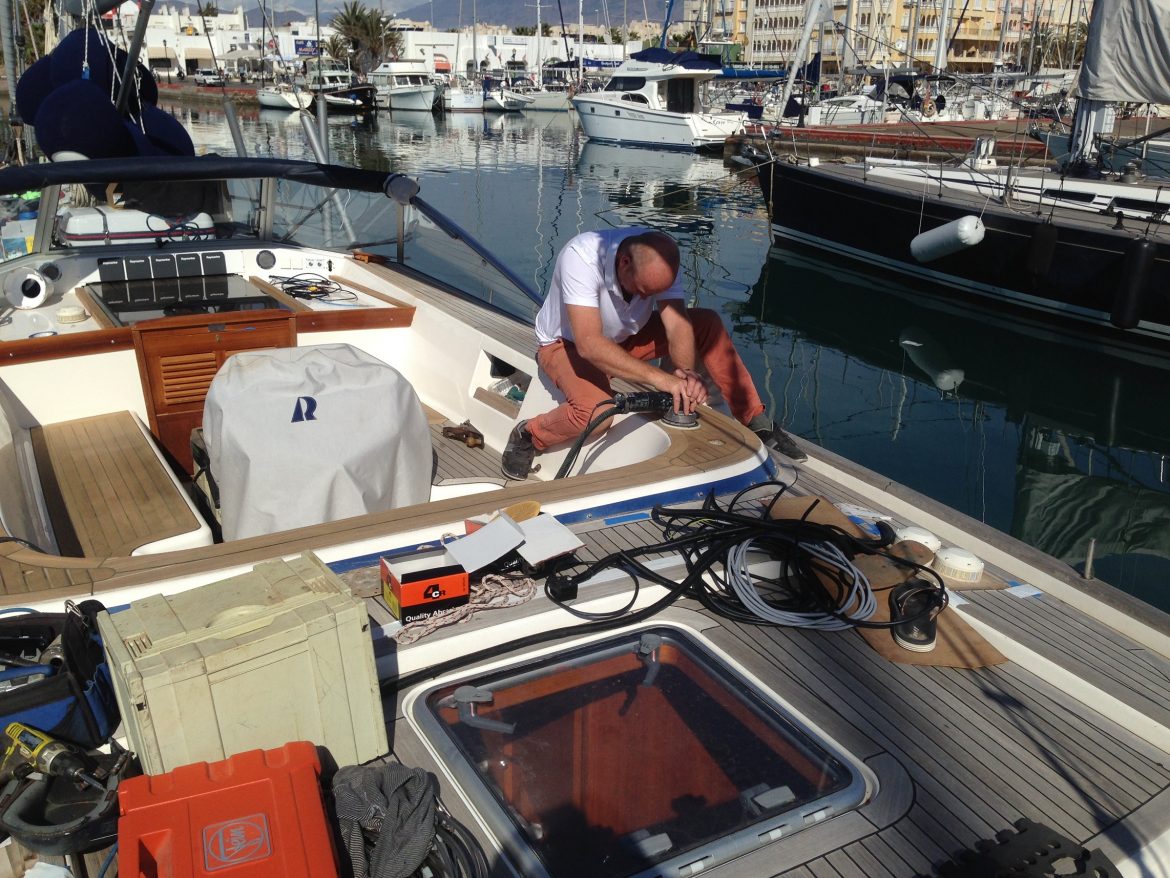
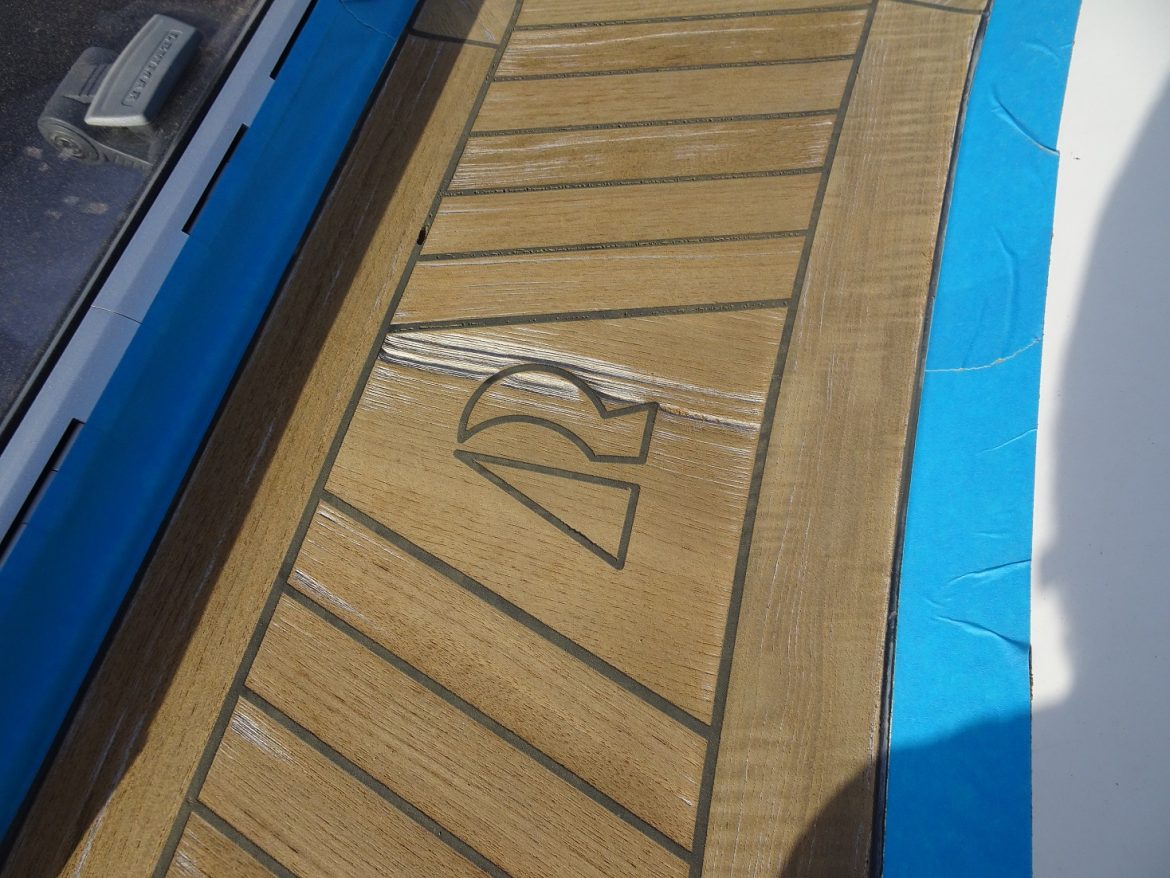
Years of jet washing had “grained” the decks. To make the situation worse, the Sikaflex was now 2-3 mm proud and water could not run off the wood. So sadly, they had to be sanded. But we really didn’t want that sanding effect you so often see, when the decks end up “raising” around the fittings. So all the fitting had to come off. BIG job! Especially the main and genoa tracks. Think twice before you tackle this one. But the result was well worth the effort. Beautiful decks, looking like the day they left Elios … minus a few mm.
We were lucky enough that we never came to the bottom of the Sikaflex routing. That said we did have to do some work on the Sikaflex, because in many places, when sanded down, a line of air bubbles in middle of the original Sikaflex was exposed. I guess a trainee was on the Sikaflex gun when our decks were laid?
Electronics: Swapping Furuno for Raymarine
We loved the idea that we had Furuno on the boat, but we found it to be very power-hungry. The other issue was that we simply could not find anyone from Furuno who was willing to help us diagnose issues or suggest ways to upgrade. We came to the conclusion that Furuno really are not interested in the leisure business. Raymarine were the opposite, they were all over us giving hints, ideas and great support.
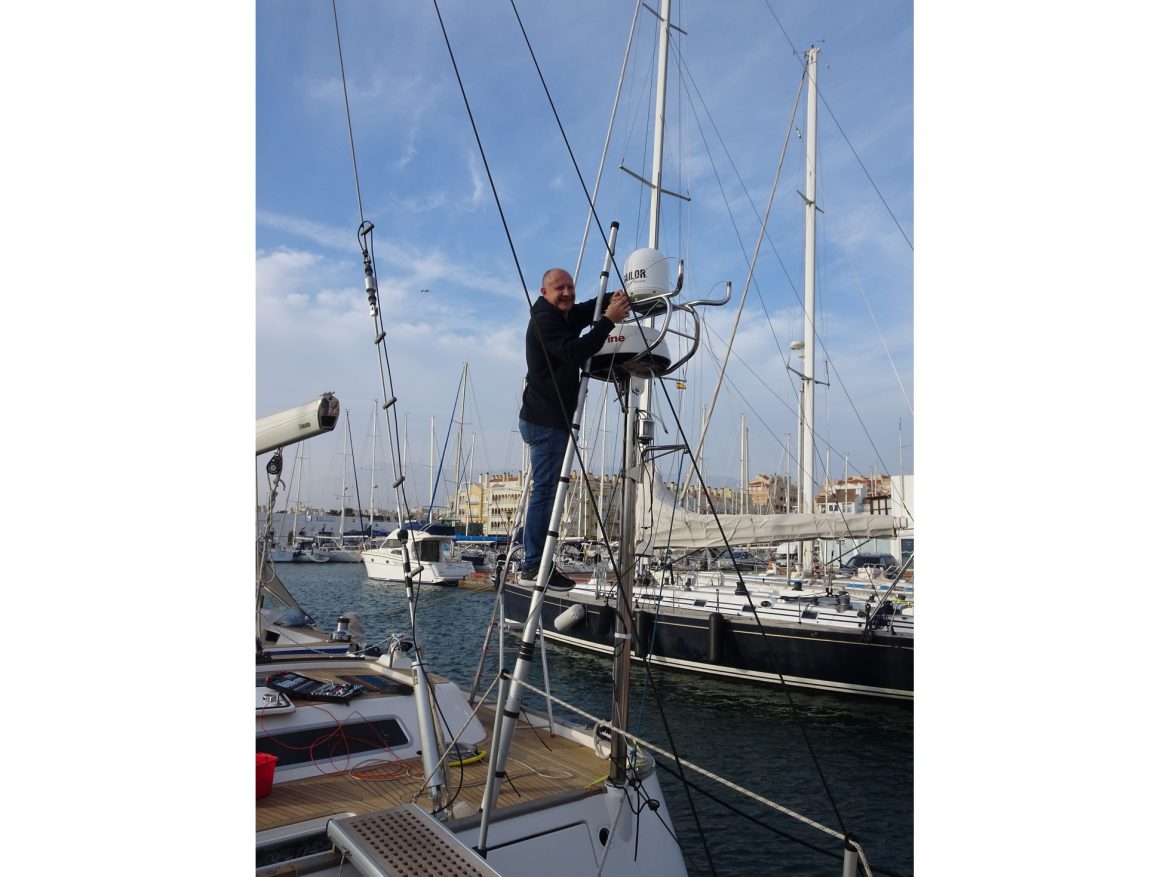
Lastly, we could only have Maxsea charts on Furuno, whereas Raymarine had Navionics. Cruising in one place this would not be a problem, but global charts meant 20x the cost from Maxsea compared to Navionics. So, off came the large Furuno open array radar (all 30Kgs of it!) to be replaced by a Quantum; and off came the desktop computer sized MFDBB and its cockpit screen and keyboard controllers. These were replaced by a Raymarine 15”touch-screen MFD in the cockpit, that we put safely inside a snazzy black carbon NavPod. Unfortunately, these changes also meant that we had a lot of unwelcome holes in the beautiful wood either side of the companion way. So a quick call to HR parts was needed to obtain some new teak faced ply matching what needed to be removed.
While we were at it, we upgraded the Raymarine ST60 instruments to i70s (in for a penny, in for a pound!). The beauty of the i70s is that you can program any reading onto any of the instruments. So far, we really like them.
It’s worth a mention here that all the Furuno, Raymarine and Mastervolt gear that we took off the boat was very easily resold on Ebay. I think we ended up actually getting more for the Furuno system than the new Raymarine cost us!
A second auto-helm:
We kept the original Raymarine ST6000 and also added a new EVO400 with a change-over switch. This allows quick access to a backup autohelm, should we have issues. With just 2 of us on the boat, Arthur (Arthur-the-autohelm ) had to be 100% available at all times! I must say, the new EVO400 seems to do a better job than the old Arthur!
Davits:
We had a nice Avon-airdeck 310 with a 4HP engine. We could nip this on the foredeck in minutes and the set up was great for the Med. But going further afield we wanted a RIB and a bigger engine so that we could do distances at speed without getting wet. And yes, I fancied something to wakeboard behind! A halyard was not going to lift this, so we needed davits. We chose Simpson-Lawrence, with electric powered dynema lines and a remote control.
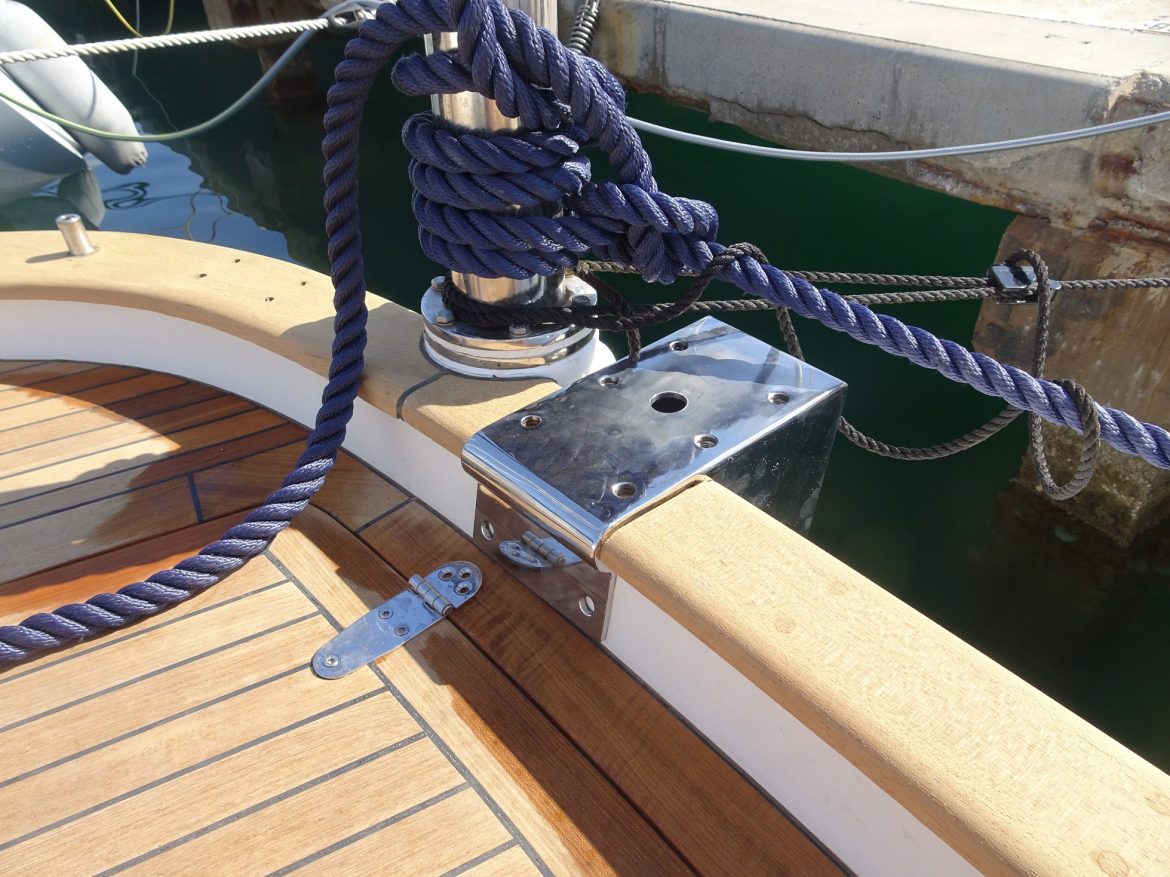
The challenge of course is where to fit them on the boat. We’d heard so many HR davit owners telling stories of gelcoat cracking where the davit shoes met the transom. Added to that, HR told us where to position the shoes and it seemed much too wide for my liking – we would have needed a 360 or even 4m RIB just to fit that width! So we bucked the advice and placed the shoes just outside the swim-platform opening, where there was a right-angle in the transom glass fiber, making it very strong.
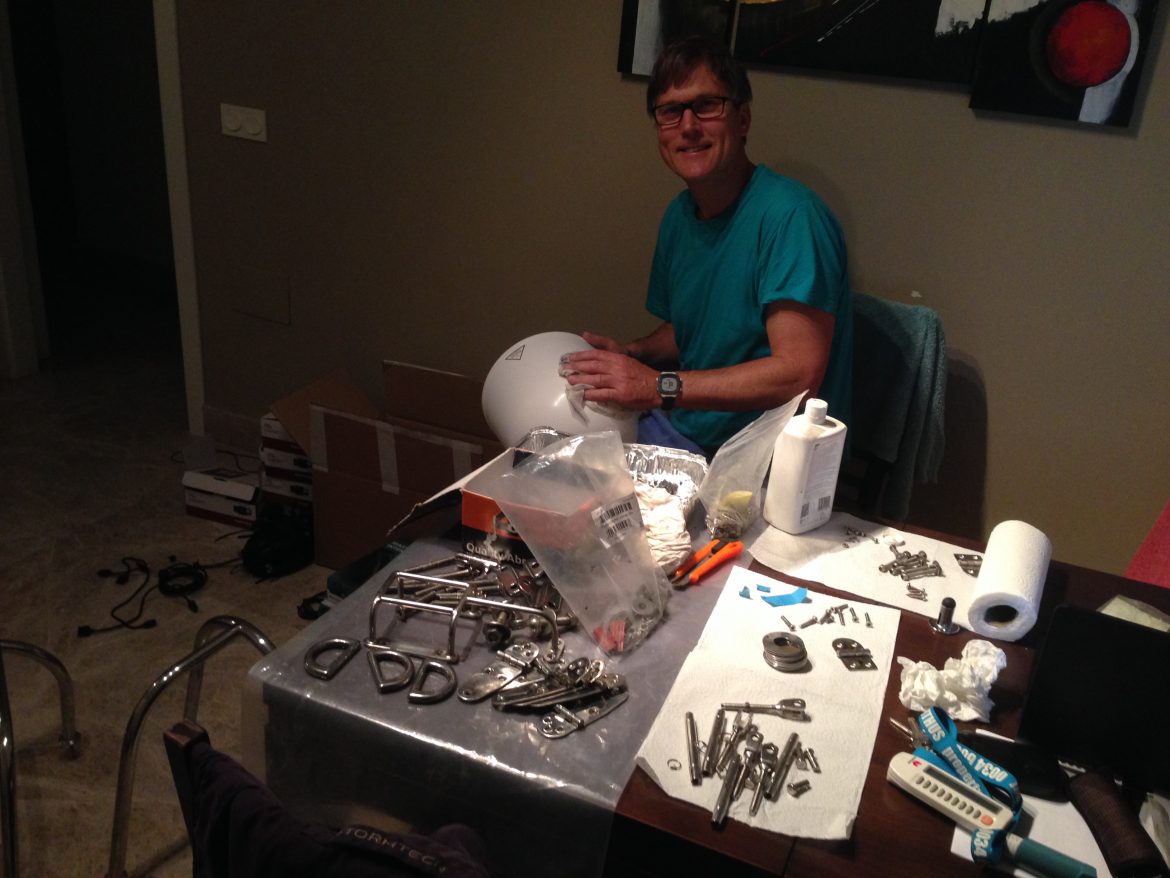
We also cut out a section of the gunwale teak capping (that was painful to watch!) so that the shoes gripped right over, and bolted into the glass fiber of the gunwale. This meant that the strong gunwale took most of the weight, not the transom. The shoes themselves were made in Almerimar and I must say the stainless steel guy did a brilliant job. They are small, discrete and beautifully made, even mimicking the curve of the teak caprail. With all the precision and cutting, it was a relief when the davits were placed on the shoes and found to line up perfectly. And now, in use, our new Avon 310 RIB with 20HP engine is in and out of the water in just 2 minutes. We even take it out at night, it’s so easy. And of course, I love polishing all that shiny stainless!
Spinnaker:
We wanted a good downwind foresail. I’d had a cruising chute with snuffler on a Moody 34 previously, so thought nothing of repeating it. We added a bow-sprit, similar to those HR makes, only ours was made from a former 50mm propeller shaft costing quite a bit less than a Swedish export! The sail itself is a Rolly Tasker asymmetric, made at their loft in Thailand at a fraction of the cost from Elvstrom. But when it arrived we were horrified at the size of the bag. And we all know that sails can never be packed so small ever again! So in the fore-peak it went …. And yes, it took up a whole berth there.
After the refit we tried it and frightened ourselves silly trying to get it down in just 12 knots. I was wrong on this one. I should have taken the advice to have a code-0 on a furler. Because even if we can snuffle it, there is no way we can leave the snuffler up the mast when a squall comes. So we will have to re-think on that one. Anyone want a “used-once” asymmetric, aptly named Monster?
Last important item was ground tackle:
We put the factory fitted 60m chain under saloon floor and the 34Kg Delta in the fore-peak to be used as a spare, and replaced with new 100m chain and a shiny Ultra 45Kg anchor. We would have gone for a Rocna, but that roll bar would not have fitted under the new bowsprit. Ultra, made in Turkey, seemed to have all the right credentials as well as looking beautiful shining there on the bow. So far we have not had great experience though. It digs in super quick, and is great in sand and mud. But in thick grass weed it soon pulls up what can only be described as ½ football field, leaving Cloudy Bay drifting out to sea as we sip our cocktail in a beach bar. Yes, that happened the first time we used it!
The total refit project list goes on at over 100 line items, but the above were the key items. We have been in Greece for 3 months now and generally super pleased with all the refit items. A couple of refinements in November, then we are off across the pond to start the adventure.





2 comments
Many thanks for your excellent insight into Ocean/Caribbean sailing via UTube.
We hope to do something similar. You would be surprised how much knowledge/insight you pass on via your video. Well Done!
On the WEB you mention the refit in Almerimar, Costa Del Sol. Can you divulge the name of the yard/company and a contact name?
Many thanks. Keep up the video updates. Greatly appreciated.
Good, and Safe, Sailing.
Best wishes,
John, Southampton.
Really enjoying your vids and am very impressed with your preventative maintenance programme. Like you both we are planning some serious offshore miles in our J160 next year. I would be very interested please in learning more about the PM programme you have in place.
Hope that you can give me some pointers.
best wishes
Jonathan Brewin
S/V Big Bear
Comments are closed.